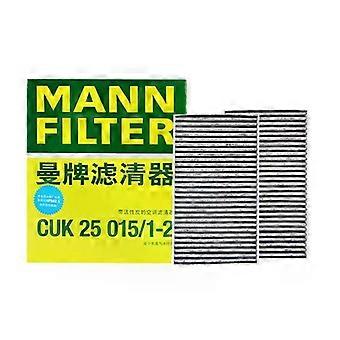
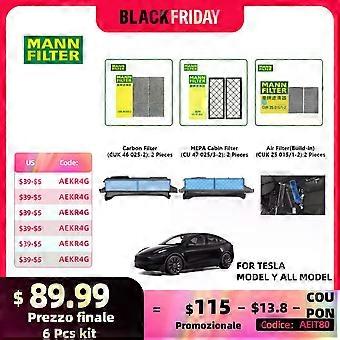
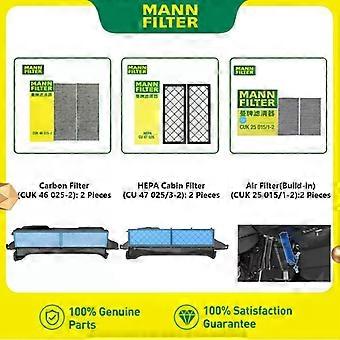
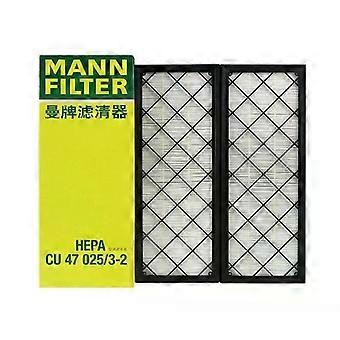
HEPA Carbon Cabin Filter Kit For Tesla Model Y Model 3 EV MANNFILTER CUK25015/21-2 CUK46025/1-2 CU47025/3-2 Build-in Air Filter
DARMOWA wysyłka

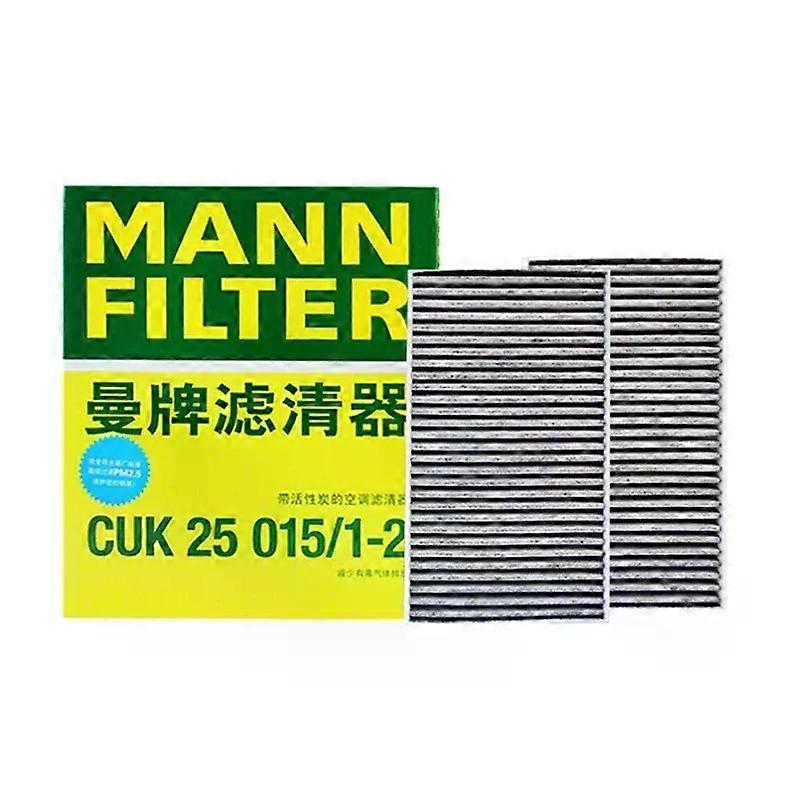
HEPA Carbon Cabin Filter Kit For Tesla Model Y Model 3 EV MANNFILTER CUK25015/21-2 CUK46025/1-2 CU47025/3-2 Build-in Air Filter
- Marka: Unbranded
HEPA Carbon Cabin Filter Kit For Tesla Model Y Model 3 EV MANNFILTER CUK25015/21-2 CUK46025/1-2 CU47025/3-2 Build-in Air Filter
- Marka: Unbranded
Akceptujemy następujące metody płatności
Opis
- Marka: Unbranded
- Kategoria: Układy chłodzenia
-
Kolor: CUK25015-1-2
- Identyfikator Fruugo: 419606134-884341435
- EAN: 1289096048441
Informacje o bezpieczeństwie produktu
Prosimy o zapoznanie się z informacjami dotyczącymi bezpieczeństwa produktu określonymi poniżej
Poniższe informacje zostały dostarczone przez niezależnego sprzedawcę zewnętrznego sprzedającego ten produkt.
Etykiety bezpieczeństwa produktu

Dostawa i zwroty
Wysyłka w ciągu 24 godzin
-
EXPRESS: BEZ OPŁAT - Dostawa między czw. 23 października 2025–pt. 07 listopada 2025 - BEZ OPŁAT
Wysyłka z Chiny
Dokładamy wszelkich starań, aby zamówione produkty były dostarczane w całości i zgodnie z Państwa wymaganiami. Jeśli jednak otrzymają Państwo niekompletne zamówienie, przedmioty inne niż zamówione lub istnieje inny powód, dla którego nie są Państwo zadowoleni z zamówienia, mogą Państwo zwrócić zamówienie lub dowolne produkty objęte zamówieniem i otrzymać pełny zwrot kosztów za te przedmioty. Pokaż pełną politykę zwrotów
Szczegóły zgodności produktu
Prosimy o zapoznanie się z informacjami dotyczącymi zgodności dotyczącymi tego produktu podanymi poniżej.
Poniższe informacje zostały dostarczone przez niezależnego sprzedawcę zewnętrznego sprzedającego ten produkt.
Producent:
Poniższe informacje zawierają dane kontaktowe producenta danego produktu sprzedawanego w serwisie Fruugo.
- Shenzhenshidimeinuokejiyouxiangongsi
- Shenzhenshidimeinuokejiyouxiangongsi
- Longgangqulonggangjiedaoainanlu78haolihaogongyeyuanBdong715
- Shenzhenshi
- CN
- 518100
- vbxvtj@163.com
- 13626598789
Osoba odpowiedzialna w UE:
Poniższe informacje zawierają dane kontaktowe osoby odpowiedzialnej w UE. Osobą odpowiedzialną jest wyznaczony przedsiębiorca z siedzibą w UE, który jest odpowiedzialny za wypełnianie obowiązków związanych z przestrzeganiem przepisów w odniesieniu do danego produktu sprzedawanego na terenie Unii Europejskiej.
- CREAMDEL SASU
- CREAMDEL SASU
- CHEZ DOMIDEAL, 11 AVENUE CARNOT,
- BESANCON
- France
- 25000
- Stupidpuppyeu@outlook.com
- 33 751334518